Elixir Nerves for measuring temperature from a DS18B20 sensor on a Raspberry Pi
December 12, 2016
Introduction
In this post we’ll use Elixir Nerves to read the temperature from a DS18B20 sensor connected to a Raspberry Pi. I’ll assume that you are familiar with both (i) basics of simple electronic circuits and (ii) basics of simple Elixir programs. Not sure? Maybe my previous blog post on Project Blinkenlights can help out. It guides you through the Internet of Things way of saying Hello World using Elixir Nerves, a simple breadboard with an LED on it, and a Raspberry Pi that runs the Elixir code and effectively makes the LED blink continously.
Prerequisites
The following hardware is required for this project. Click on the thumbnails to get more information.
| . | . | . |
|---|---|---|
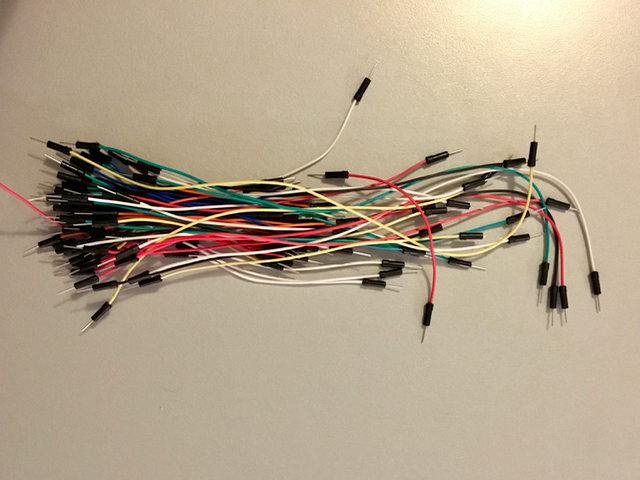
Jumper cables |

DS18B20 Sensor |

Raspberry Pi |
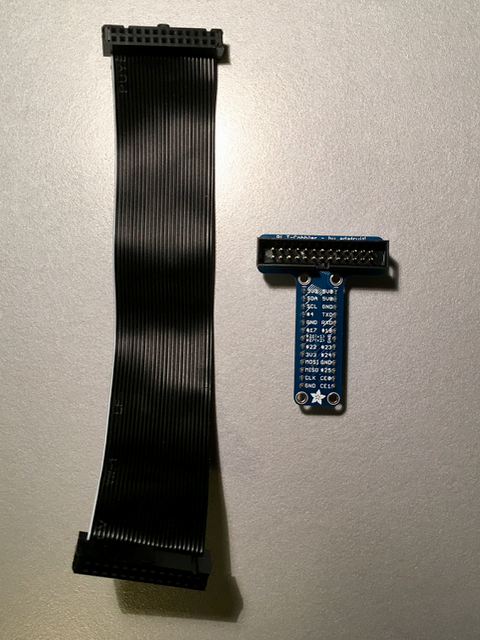
Breakout kit |
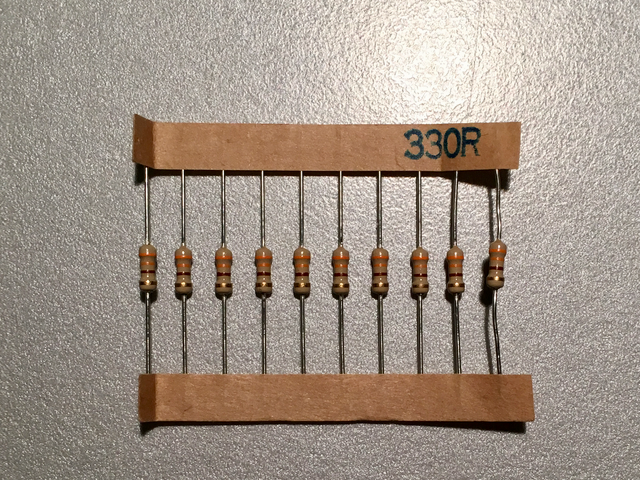
4.7kΩ Resistor |
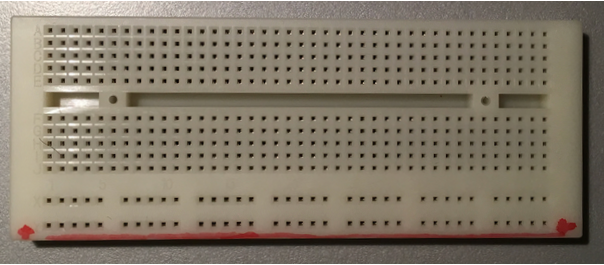
Breadboard |
Wiring everything together
The DS18B20 sensor comes with three wires: blue (sometimes black), yellow, and red. As shown in the breadboard layout diagram below, red is connected to power, blue is connected to ground and yellow (the “data” wire) is connected to one of the Raspberry GPIO ports - in our case GPIO 4. Additionally, we add some constant power to yellow through a 4.7kΩ resistor connecting red to yellow. This serves as a ‘pullup’ for the data wire, and is required to keep the data transfer stable and happy.
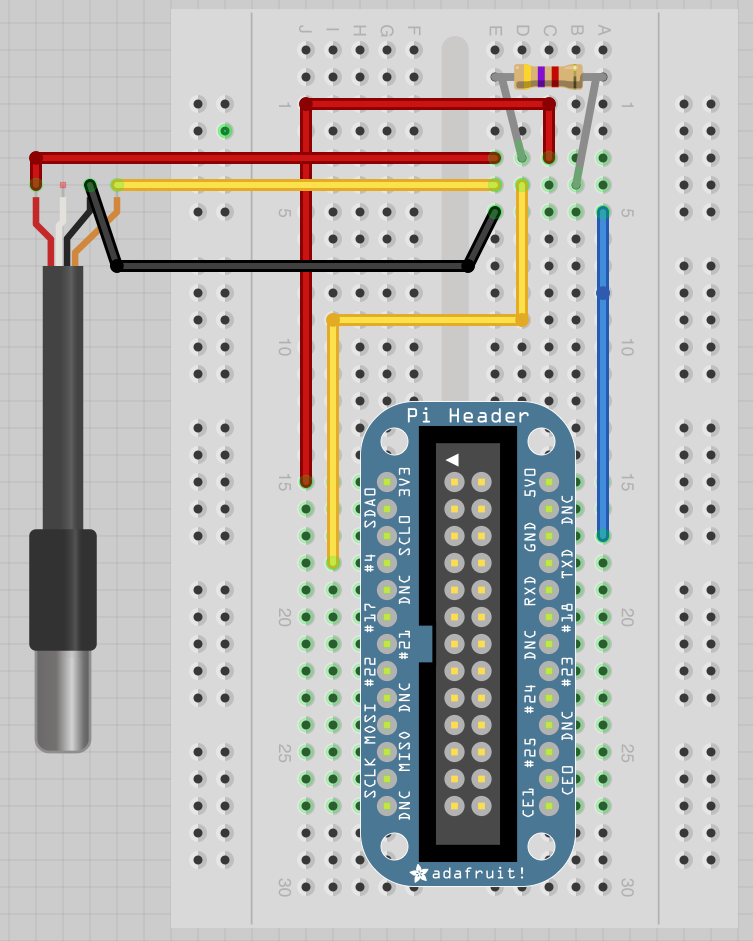
Breadboard Layout for wiring DS18B20 Temperature Sensor
The schematic wiring diagram above is provided by Adafruit under CC BY 3.0 license. The image below shows how I wired the sensor on my breadboard.
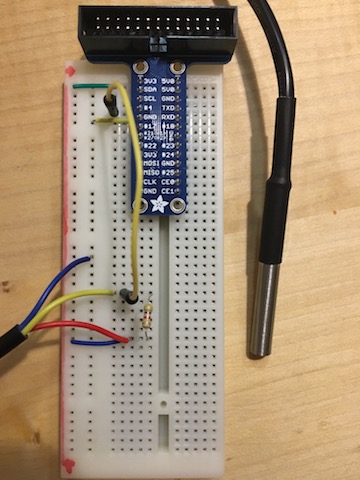
Wired DS18B20 Temperature Sensor on a breadboard.
Setting up a new Elixir Nerves Project
Now let’s turn to the software part. We employ the excellent Nerves Project for the heavy lifting.
First let’s create a new nerves project called excelsius:
$ mix nerves.new excelsius --target rpi
Note: You might want to specify a different target platform depending on the hardware you use. Here’s a list of currently supported target platforms.
Now cd into the newly created project directory and download the required third party libraries.
$ cd excelsius
$ mix deps.get
Enabling 1-Wire protocol support
The DS18B20 sensor uses the Dallas 1-Wire protocol to communicate its temperature readings. Luckily Nerves (or more precisely the underlying Buildroot Linux) comes equipped with support for 1-Wire protocol. We only need to activate it in the config.txt file within the Buildroot Linux as shown in the picture below.
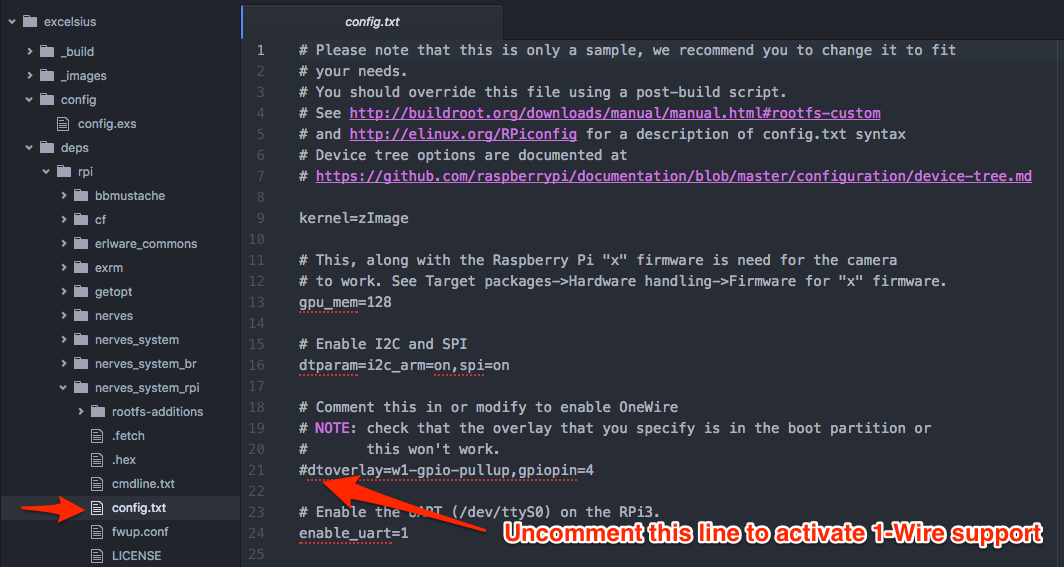
Activating 1-Wire support in Buildroot Linux
The only problem: Whenever we issue a mix deps.get in our shell, all changes in the deps folder will be overwritten. Adjusting config.txt deep within the deps directory clearly isn’t an option.
Instead we need to use Nerves’ advanced configuration option which allows us to overwrite files in the boot partition of Buildroot Linux. In particular we instruct Nerves in our config.exs to overwrite the Buildroot Linux’s default fwup.conf with a customized version which we store at at excelsius/config/rpi/fwup.conf.
config :nerves, :firmware,
fwup_conf: "config/rpi/fwup.conf"
We create our custom fwup.conf by copying the default file over to our custom file location:
$ mkdir config/rpi
$ cp deps/rpi/nerves_system_rpi/fwup.conf config/rpi
Within fwup.conf (lines 70-72 in my version of the file) we then specify a custom file location for config.txt.
file-resource config.txt {
    host-path = "${NERVES_APP}/config/rpi/config.txt"
}
Note: For convenience you can use NERVES_APP as variable to point to the project’s root directory. Next we copy config.txt from its original location and then adjust it.
$ cp deps/rpi/nerves_system_rpi/config.txt config/rpi/
Within config.txt we uncomment the line dtoverlay=w1-gpio-pullup,gpiopin=4. Note the reference to GPIO pin 4, which has to match the pin you connected on the breadboard to the yellow wire of your DS18B20 temperature sensor.
# Please note that this is only a sample, we recommend you to change it to fit
# your needs.
# You should override this file using a post-build script.
# See http://buildroot.org/downloads/manual/manual.html#rootfs-custom
# and http://elinux.org/RPiconfig for a description of config.txt syntax
# Device tree options are documented at
# https://github.com/raspberrypi/documentation/blob/master/configuration/device-tree.md

kernel=zImage

# This, along with the Raspberry Pi "x" firmware is need for the camera
# to work. See Target packages->Hardware handling->Firmware for "x" firmware.
gpu_mem=128

# Enable I2C and SPI
dtparam=i2c_arm=on,spi=on

# Comment this in or modify to enable OneWire
# NOTE: check that the overlay that you specify is in the boot partition or
#       this won't work.
dtoverlay=w1-gpio-pullup,gpiopin=4

# Enable the UART (/dev/ttyS0) on the RPi3.
enable_uart=1
Reading sensor temperature in Elixir
Temperatures from our DS18B20 temperature sensor can be read from a special virtual file that is located within sysfs filesystem under /sys/bus/w1/devices/ (w1 for 1-wire bus). Each temperature sensor has a hardcoded unique id, mine is 75d11a9. Thus the virtual file containing the temperature information is located at /sys/bus/w1/devices/28-0000075d11a9 in my case. If I had connected more than one temperature sensor, each would have shown up here with its own virtual file and all files share the prefix 28-`
Within this virtual file the temperature sensor information is stored as follows:
some_irrelevant_information_such_as_CRC_codes t=21475
We’re only interested in the last chunk of information, i.e. the t=21475 value. This value translates to a temperature of 21.475° C.
So let’s begin coding the logic in Elixir: First open the file lib/excelsius.ex in your favorite editor (I prefer Atom). Then add the business logic that reads the temperature from the virtual file and later displays it in the console. To accomplish this you can simply replace the contents in lib/excelsius.ex with the following code:
defmodule Excelsius do
  use Application

  @moduledoc """
    Simple example to read temperature from DS18B20 temperature sensor
  """

  require Logger

  @base_dir "/sys/bus/w1/devices/"

  def start(_type, _args) do

    Logger.debug "Start measuring temperature..."

    spawn(fn ->  read_temp_forever() end)

    {:ok, self}
  end

  defp read_temp_forever do
    File.ls!(@base_dir)
      |> Enum.filter(&(String.starts_with?(&1, "28-")))
      |> Enum.each(&read_temp(&1, @base_dir))

    :timer.sleep(1000)
    read_temp_forever
  end

  defp read_temp(sensor, base_dir) do
    sensor_data = File.read!("#{base_dir}#{sensor}/w1_slave")
    Logger.debug("reading sensor: #{sensor}: #{sensor_data}")
    {temp, _} = Regex.run(~r/t=(\d+)/, sensor_data)
    |> List.last
    |> Float.parse
    Logger.debug "#{temp/1000} C"
  end

end
Looking closer at the code above we see a method start which is called as soon as Raspberry Pi finished booting into the Erlang VM. This method emits a log statement and then spawns a new process calling read_temp_forever.
The method read_temp_forever scans the sysfs file system at /sys/bus/w1/devices/ for files starting with 28- and then calls read_temp for each detected file. Note that we connected only one temperature sensor to GPIO port 4. Still we scan the directory because we usually don’t know the exact sensor id / file name.
read_temp reads a particular sensor file, extracts the last occurrence of the t=xxxxx pattern from its content, and then logs the extracted temperature to the console.
As with Project Blinkenlights before, the only thing left now is to transfer our code to the Raspberry.
Simply put an SD card into the SD card reader of your computer (note that it’s content will be completely erased so make sure that’s okay for you). Then open a terminal, cd into your project directory, and run
mix compile
mix firmware
mix firmware.burn
Once this is finished put the SD card into your Raspberry Pi and power it up. It takes about 3 seconds to boot right into your Elixir code which then starts reporting the temperature measured at your DS18B20 sensor to your Raspberry console.
Enjoy!